


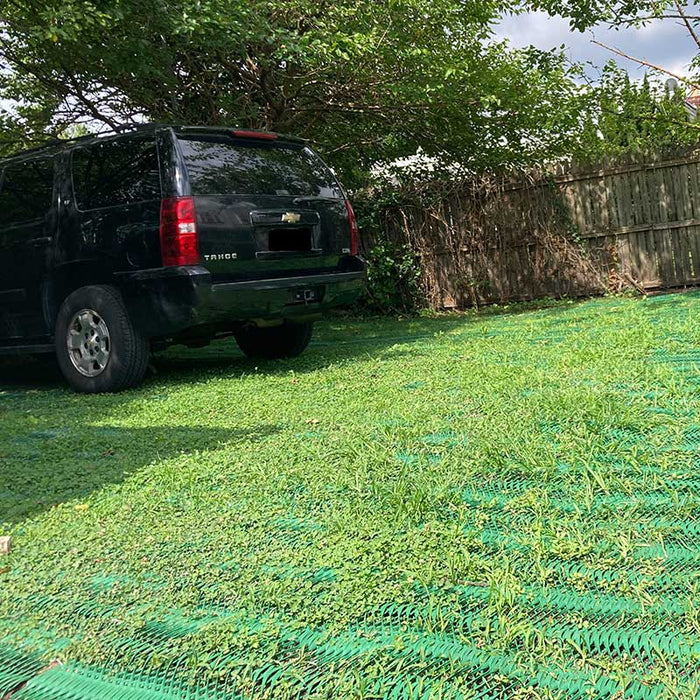
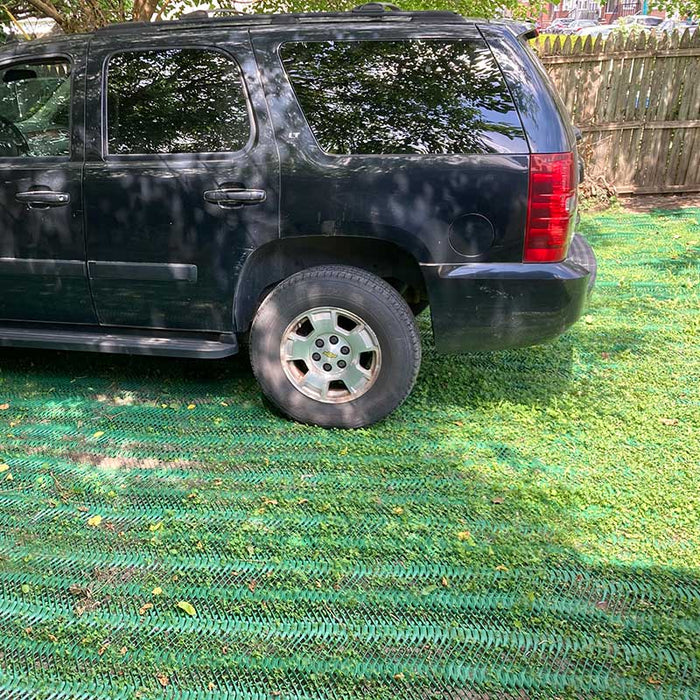
Grass Protection Mesh for Car Parking
$598.83
FREE SHIPPING
SKU LV-GPM-HG-6.7X25
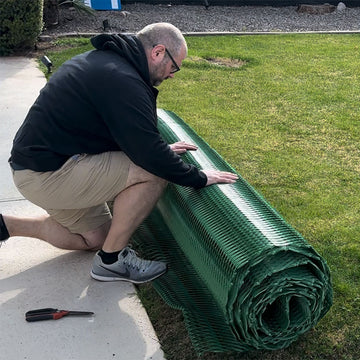
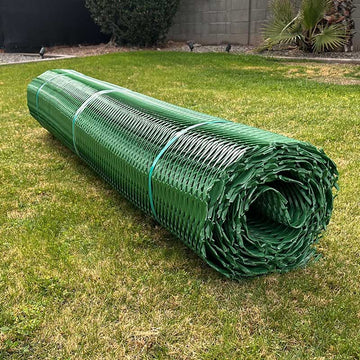
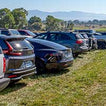
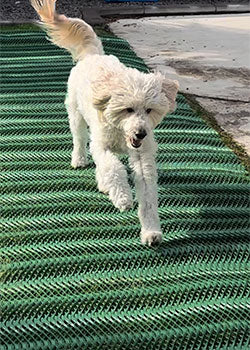
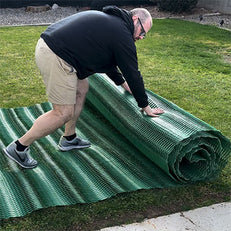
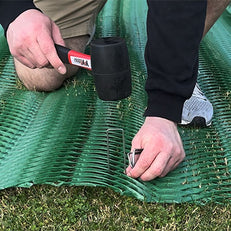
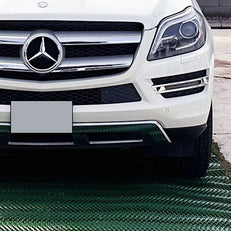
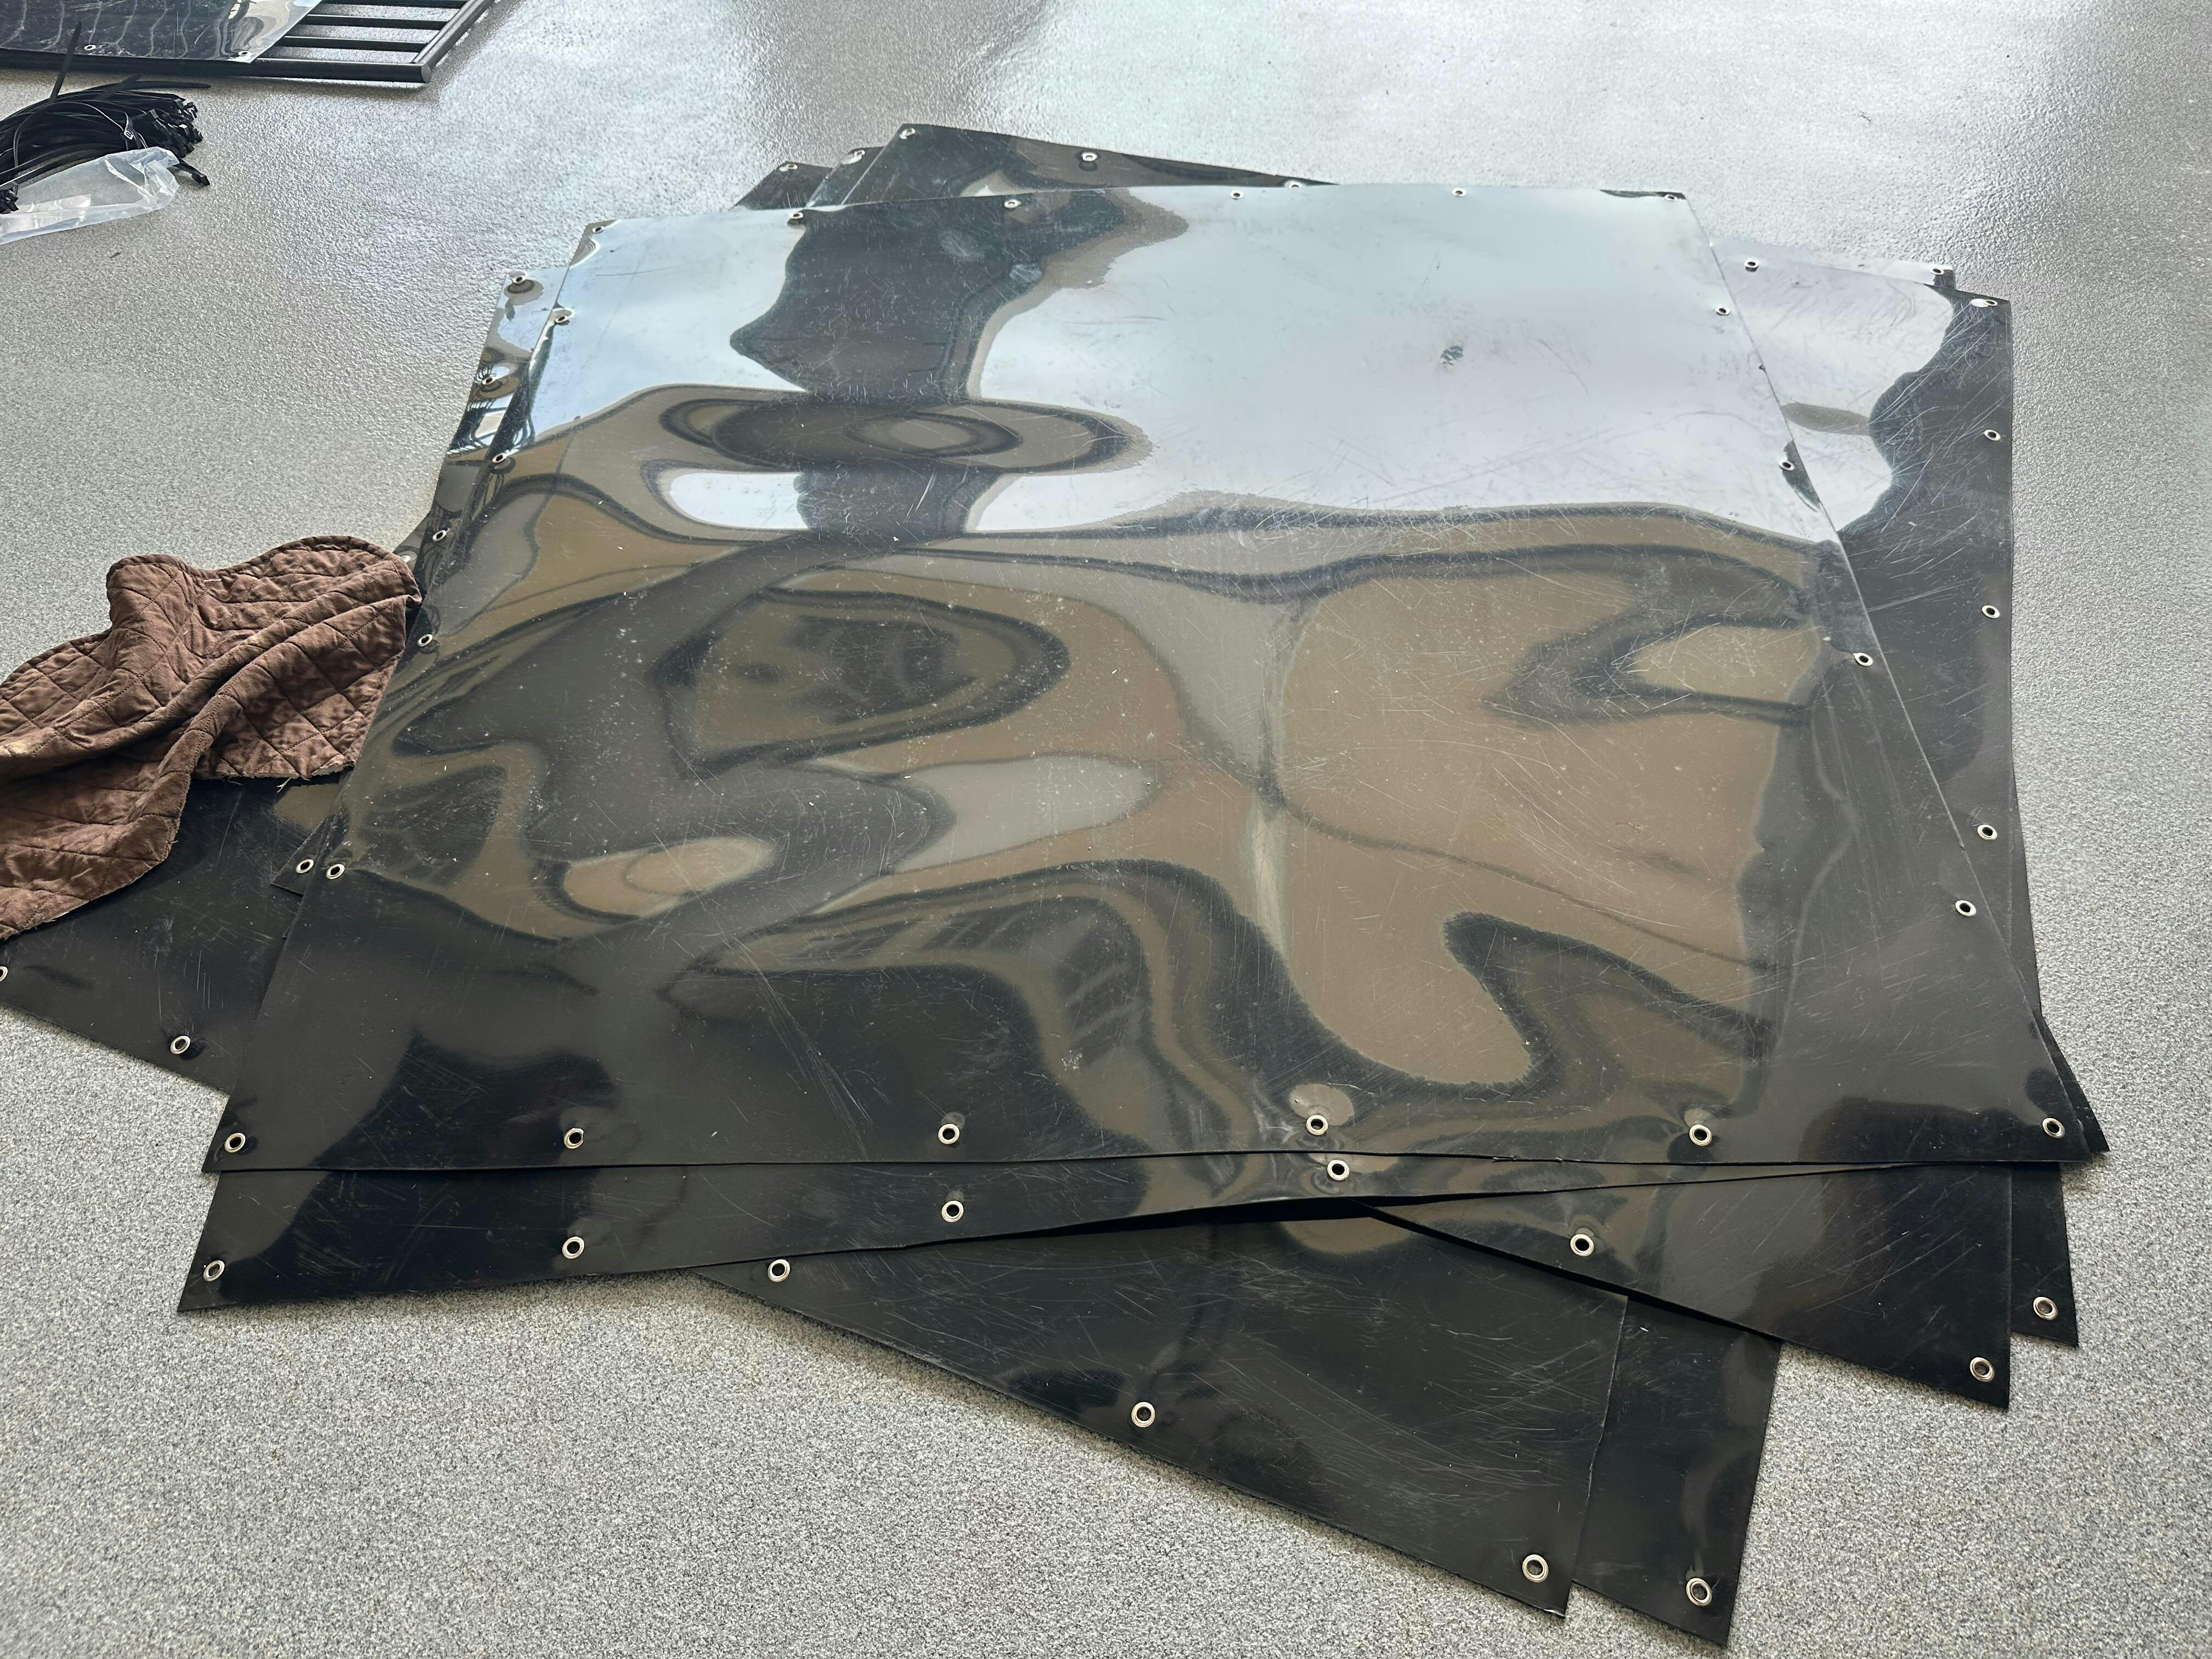
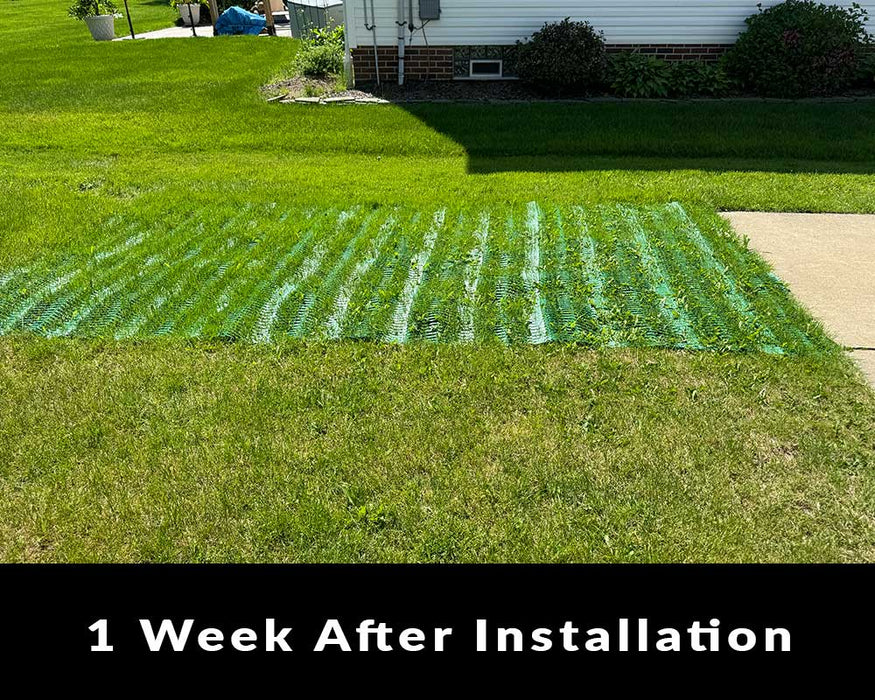
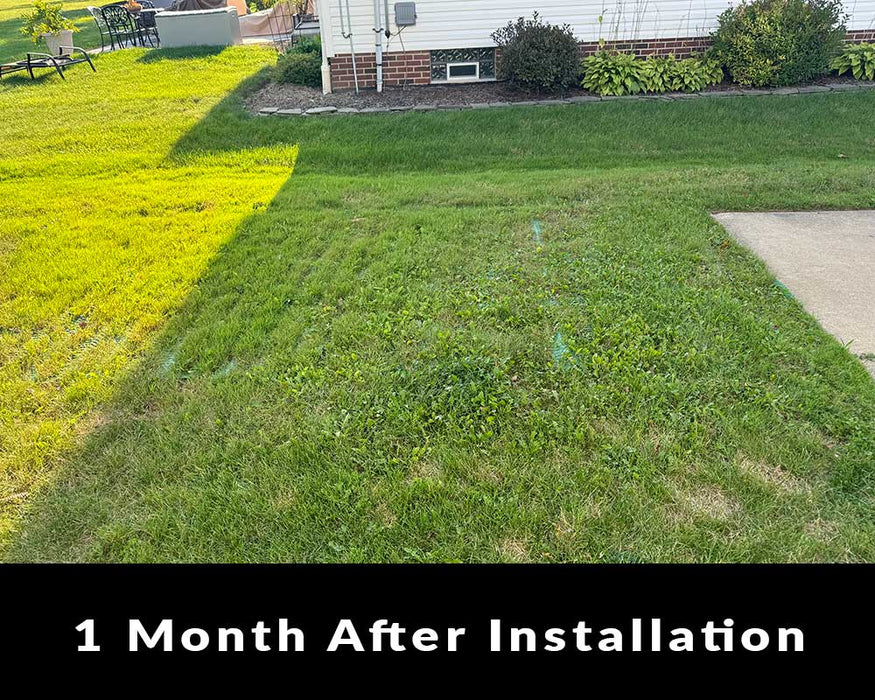
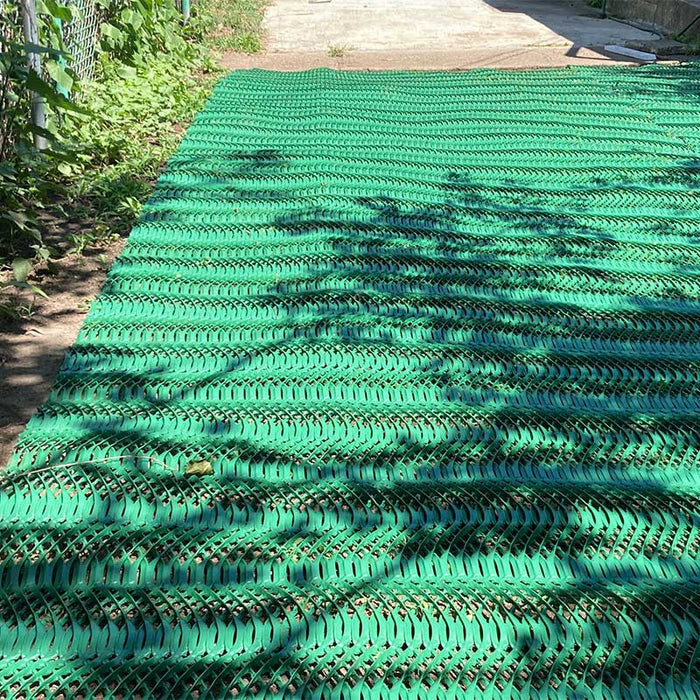
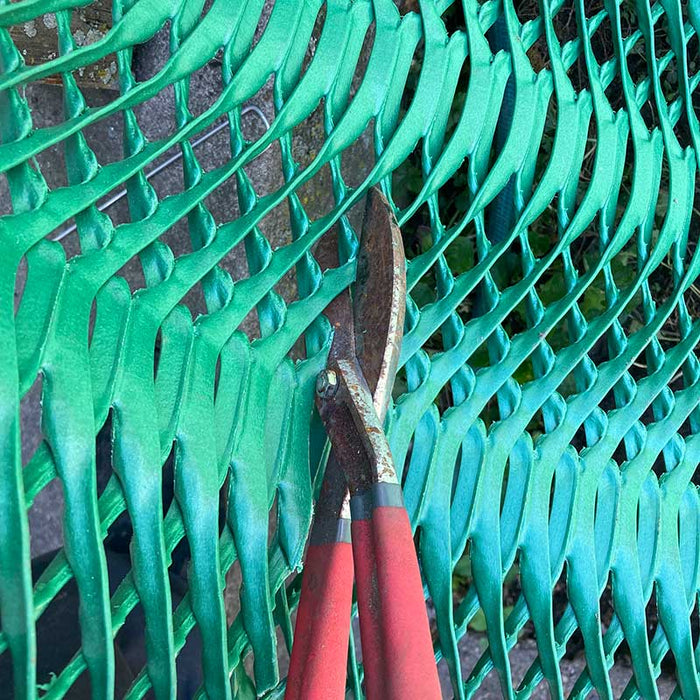
Our Grass Protection Mesh for Car Parking provides grass protection for pedestrian traffic and for daily vehicular traffic and parking. The mesh helps distribute the weight of a vehicle over a wider area which helps to prevent rutting, sinking and grass root damage. This product is manufactured from HDPE, is UV resistant, and conforms to grass areas. The osculated mesh is flexible and can conform to your lawn area while still remaining strong and providing a stable driving surface.
The grass protection mesh for car parking is used in commercial parking areas, RV parking, storage areas, public pedestrian pathways and more. This is a made in America product.
Size: 6.7' x 25' (167.5 SF)
Roll Weight: 60 lbs