


Turf Protection Matting
$598.83
FREE SHIPPING
SKU LV-GPM-HG-6.7X25
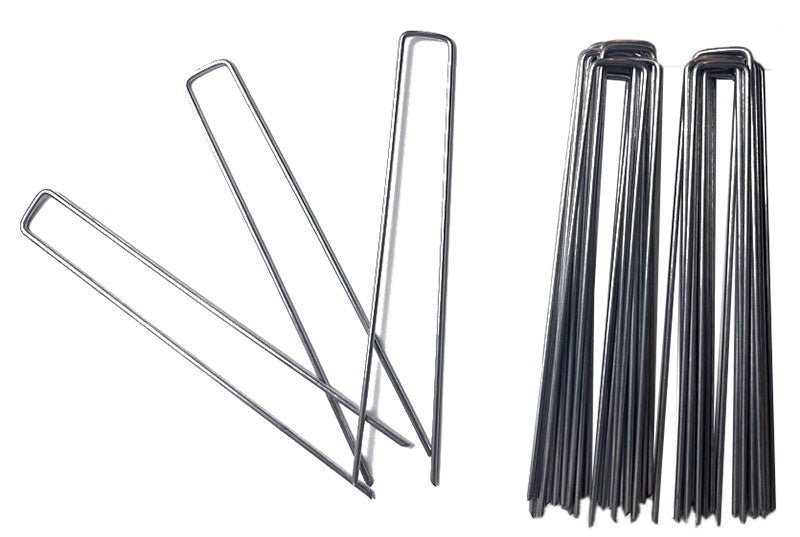
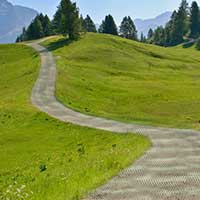
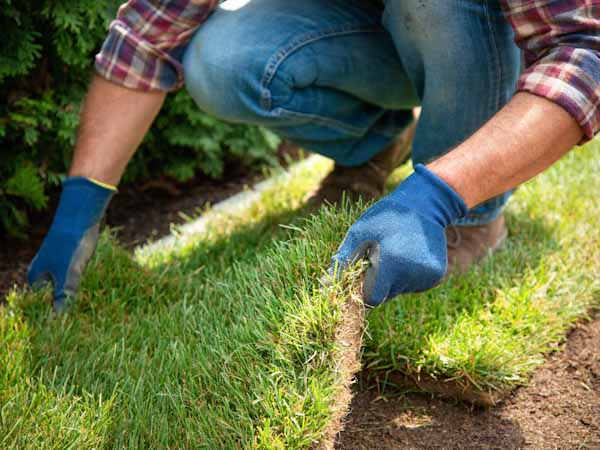
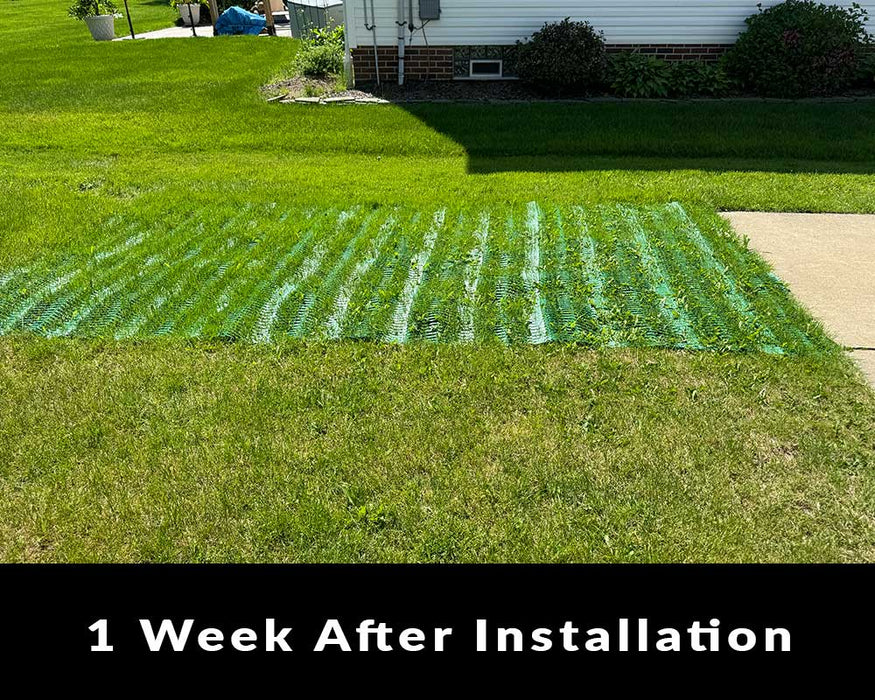
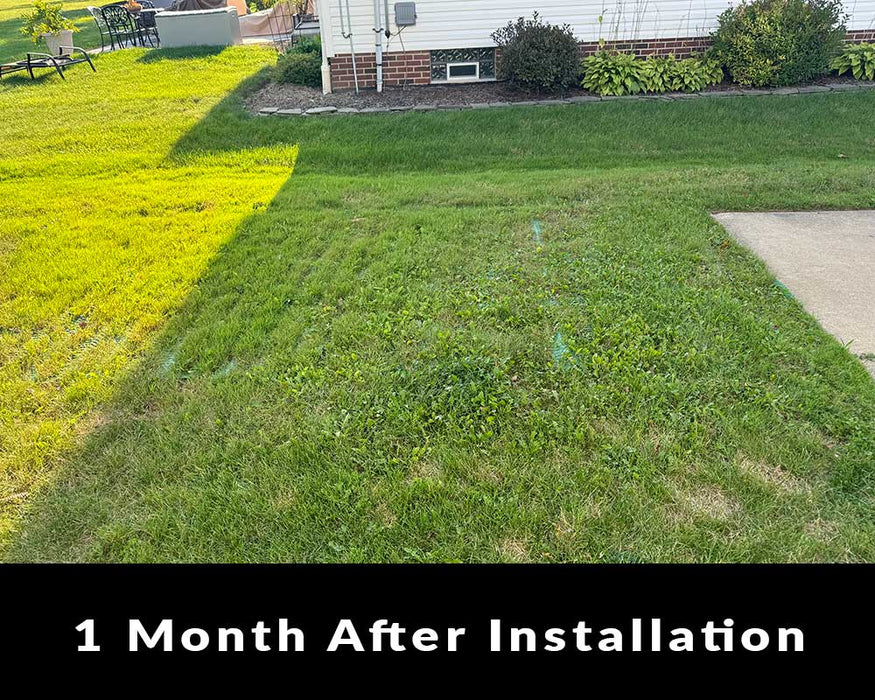
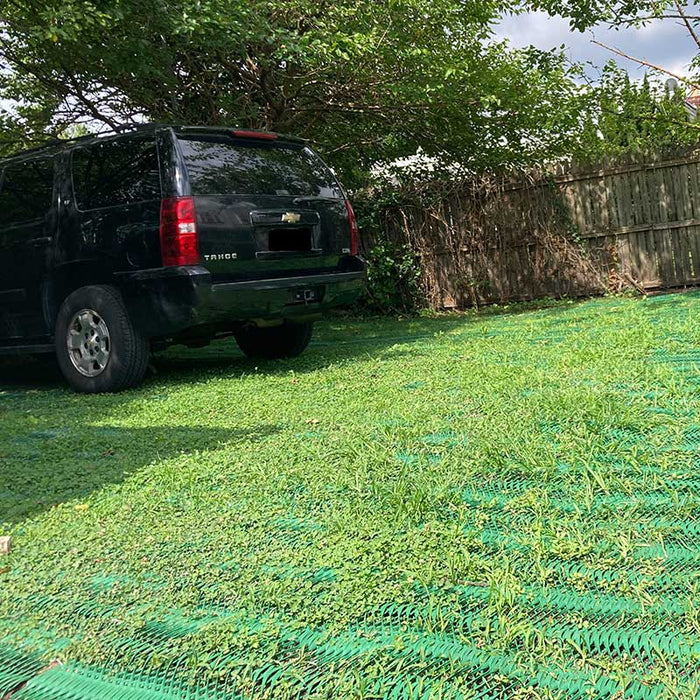
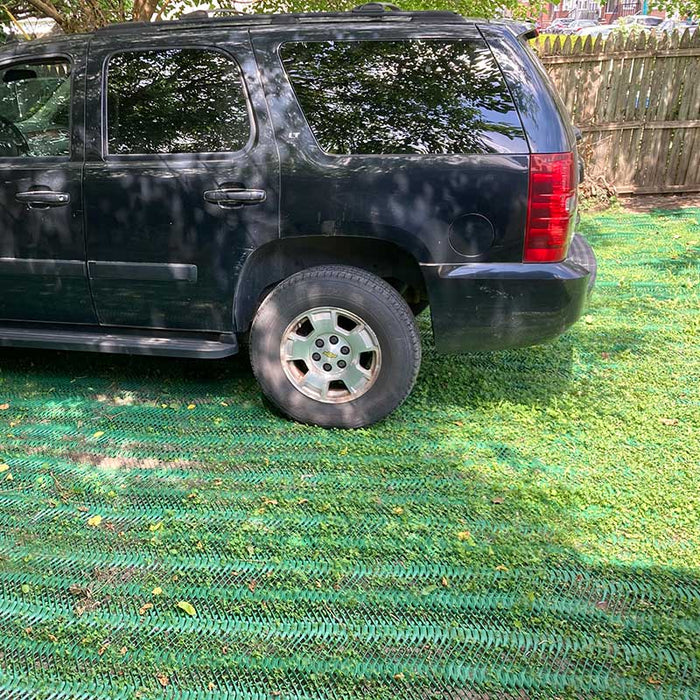
Our Turf Protection Matting is a great product to help reinforce the portion of your lawn that receives regular traffic whether it is walking, a dog run, or even light vehicle traffic. The simplest solution is our Turf Protection Matting. Very easy to install whether you have existing turf or fresh soil just roll out the mesh over soil or freshly cut as low as the mower can go grass. Then stake, and cover with soil and seed or put down sod and wait for two mows before parking on it. It can be used for areas where cars are frequently parked including including RV parking areas.
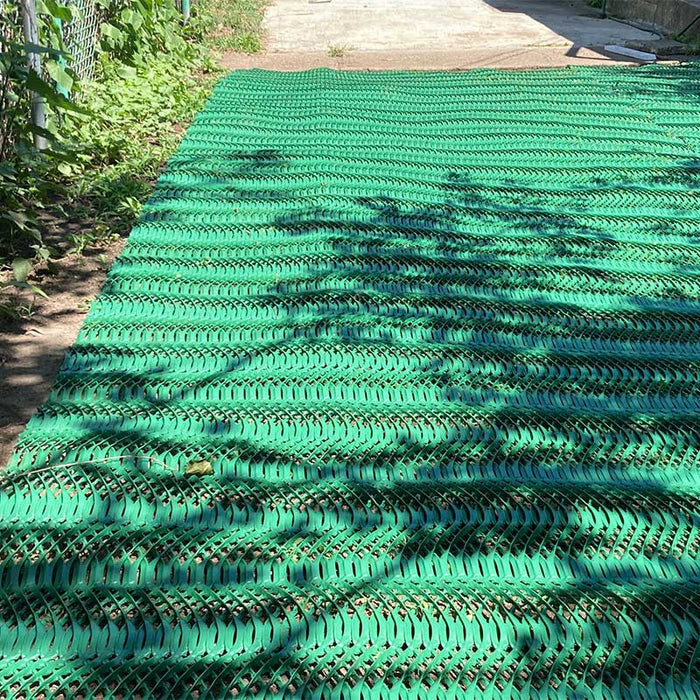
Size: 6.7' x 25' (167.5 SF)
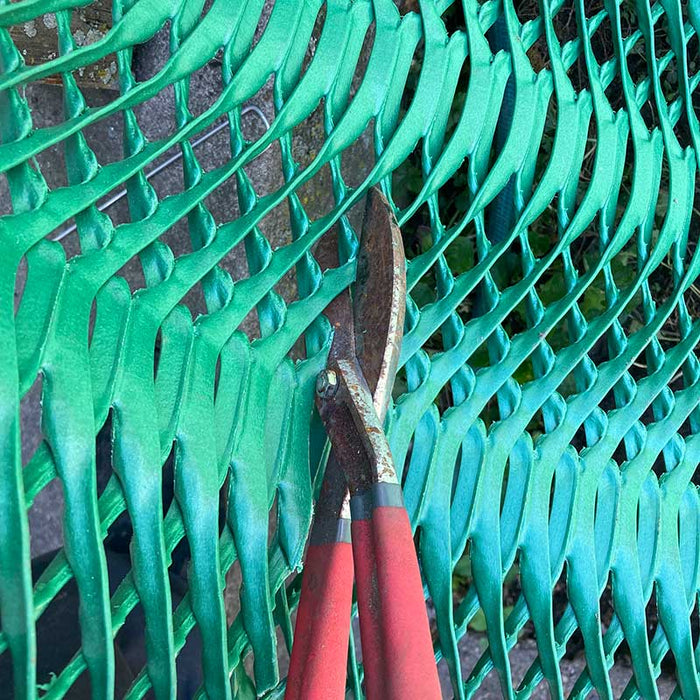
Roll Weight: 60 lbs
Size: 6.7' x 25' (167.5 SF)
Roll Weight: 60 lbs